What Documents Do You Need for Nomad Travel Insurance?
Last updated: October 30, 2026
Key Takeaways
- The application usually asks for identity, trip, and residency details, not a large stack of scanned papers.
- Usually, you need a passport, travel dates, destination country, home address, proof of residence, and the application form.
- Passport details must match the form exactly because the passport anchors the policy identity.
- Travel dates, destination country, and home address usually decide whether the policy can be issued without review.
If you are asking what documents you need to buy nomad travel insurance, the usual list is short: passport details, travel dates, destination country, home address, proof of residence, and an application form. The exact fields vary by insurer and country, so the real job is to gather the information that proves who you are, where you live, and when and where you will be covered. This guide answers what documents you need to buy nomad travel insurance in practical terms.
This is information, not financial advice. Insurance rules, residency checks, and eligibility standards differ by country and change often, so a qualified adviser should be consulted for your own situation if anything is unclear. For a general framework on consumer insurance disclosure, see the UK Financial Conduct Authority’s guidance on providing clear, fair, and not misleading information.
What the application usually asks for
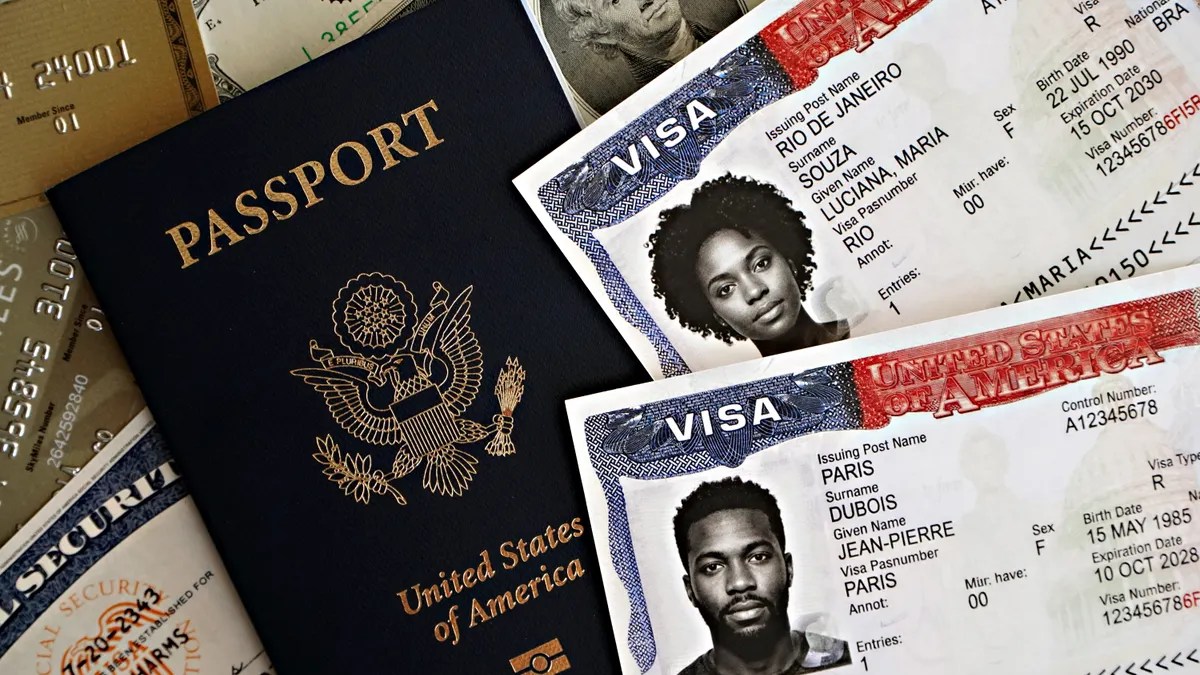
The application usually asks for identity, trip, and residency details, not a stack of scanned paperwork. For many nomad policies, the insurer is trying to confirm three things: that the person applying is the same person named on the policy, that the travel dates fit the cover period, and that the applicant has a valid home base or eligible country of residence.
The core items are predictable. A passport is the main identity document because it gives the full legal name, date of birth, and passport number. Travel dates matter because cover is typically issued from a start date to an end date, often in 30-day, 90-day, or 12-month blocks depending on the product. The destination country matters because some countries are excluded or priced differently. A home address and proof of residence can be requested to verify where you live. The application form ties all of that together.
Some insurers ask for only the information typed into an online form. Others may request a scan or photo of one or more documents if something needs checking. If the insurer says “document required,” it usually means a readable copy, not a notarized packet. If the policy wording or application says the name on your passport must match the form exactly, a mismatch is a problem, even if the rest of the details are correct.
For broader eligibility questions, the hub on nomad travel insurance eligibility and enrollment is the right place to start. This page stays focused on the documents and information usually requested when you apply.
What documents do you need to buy nomad travel insurance?
You usually need a passport, your travel dates, your destination country, your home address, proof of residence, and the completed application form. That is the short version, and it is the list most readers actually need before they start an application.
Here is how to gather it in a clean order:
- Open your passport and copy the identity page exactly. Record the full name, passport number, nationality, and expiration date as shown on the page. Verify that the spelling matches every other document. If the passport is expired, damaged, or nearing expiry, the insurer may reject the application or limit the policy term.
- Write down your travel start and end dates in day-month-year format. Use the dates you actually intend to be covered, not the dates of your visa appointment or flight shopping. Verify that the cover period matches the trip length you want. If the policy only allows a 180-day maximum and your dates run longer, the application will not fit the product.
- List each destination country you expect to visit during the covered period. Name the countries in the order you expect to enter them. Verify whether the policy accepts multi-country travel or requires a primary destination. A problem appears if a country on your route is excluded, sanctioned, or treated differently by the insurer.
- Enter your home address in the format the form requests. Include street, city, region, postal code, and country. Verify that the address is one where you can receive mail or an official notice. A mismatch between the address on the form and the proof of residence can trigger a manual review.
- Prepare proof of residence if the insurer asks for it. A utility bill, bank statement, tenancy agreement, government letter, or other dated proof is commonly used, depending on the insurer and country rules. Verify that the document shows your name, address, and a recent date, often within the last 1 to 3 months if the insurer specifies recency. A screenshot with no visible issuer or date is usually not enough.
- Complete the application form without abbreviations that hide details. Type the information exactly as requested and answer every required field. Verify that no field is left blank unless the form allows it. A missing passport number or an unexplained gap in travel dates can stop the quote or delay issue of the policy.
- Check any extra declarations before submitting. Some applications ask about current country of residence, prior claims, pre-existing conditions, work activity, or where you will be while applying. Verify that your answers are honest and consistent with the rest of the form. A contradiction between your declared residence and your supporting document is a common reason for follow-up questions.
- Save copies of everything you submit. Keep a PDF or screenshot of the application confirmation, plus the document files you uploaded. Verify that the confirmation shows the policy reference or submission number. If the insurer later asks for clarification, you will need the exact version you sent, not a revised draft.
The application file does not need to be elaborate. One passport, one address, one set of dates, one destination list, and one clean proof-of-residence document, if requested, are usually enough. The main risk is inconsistency. If the application asks for a 12-month cover period and your documents describe a much shorter stay, the insurer may pause the case.
Passport information: what has to match exactly?
Passport information has to match the application exactly because the passport is the identity anchor for the policy. The insurer uses it to confirm who is applying and to reduce errors in the policy schedule, claims file, and emergency assistance record.
The details that usually matter are the passport number, the full legal name, date of birth, nationality, and expiry date. If the form requests the issuing country or place of issue, enter it as shown. Do not guess at transliterations if your name appears in more than one script; use the version the insurer asks for and keep it consistent across the form.
A common trap is using a preferred name instead of the passport name. That can be harmless on a flight booking in some settings, but insurance paperwork is less forgiving. If the policy document is issued in the wrong name, the claim team may need extra proof to connect the policy to the traveller. Another trap is a passport that expires before the policy end date. Some insurers will still accept the application and simply limit the cover term; others will reject it if the passport validity does not meet their rules.
If you have renewed your passport recently, use the current one, not the old number. If the application asks for previous passport details, provide them only where requested. A replacement passport is not a reason to abandon the application, but it does mean you need to check the number carefully before submission.
For field verification, the standard is simple: every character must line up with the passport’s identity page. One transposed digit in the passport number can be enough to create a policy document that does not match your travel record. That is the kind of error that looks minor on screen and major in a claims review.
Travel dates, destination country, and home address
Travel dates, destination country, and home address are the three details that most often decide whether the policy can be issued without review. They are also the fields that people answer too quickly because they seem obvious.
Travel dates need to be realistic and continuous. If the policy is built for a fixed period, the start date should reflect when you need cover to begin, and the end date should reflect when you expect it to stop. If your trip is open-ended, many nomad policies still require a selected end date for pricing and underwriting. You can change a date in some cases, but not after every policy stage, so accuracy matters at the first entry. A 30-day, 90-day, or 12-month term is easier to price when the dates are exact.
Destination country matters because insurers price and underwrite risk by geography. One country can be treated differently from another for medical costs, sanctions exposure, or local cover restrictions. If your route includes several countries, list all of them if the form allows it. If the form only asks for one main destination, use the country that is central to the trip and check the wording of the policy documents carefully. For destination rules, compare the policy wording with the insurer’s own country list and the official government travel advice for the country you plan to visit.
Home address is not just a billing detail. It can be a residency signal. Many applications ask for the current residential address, not a temporary hotel, coworking space, or airport lounge. The address should be one you can reasonably link to, and it should line up with your proof of residence if the insurer requests one. If your address is a long-term temporary address, such as a serviced apartment or house-sit, check the insurer’s guidance first and ask a professional if the wording is unclear.
A useful standard here is consistency across documents. The form, passport, and proof of residence should tell the same story about your identity and location. If one document says Spain, another says Portugal, and the application says you are “between homes,” the file may stall while the insurer checks your eligibility.
When to stop and get the insurer to clarify first
You should stop and ask for clarification before submitting if the application and your documents do not describe the same person, place, or time period. In insurance, a small mismatch can turn into a delay or an unenforceable policy term later. For a good rule of thumb, check the insurer’s own FAQ or underwriting notes before you submit.
Your passport name differs from your bank or utility bill name: this can happen after marriage, divorce, or transliteration differences — ask the insurer which document name they want and whether they need supporting proof of the change.
Your proof of residence is older than the insurer’s stated limit: some applications want a recent document, often within 1 to 3 months — get a newer bill or statement rather than uploading an outdated one.
Your home address is temporary or shared without your name on the document: the insurer may not accept it as proof of residence — use a document that clearly shows your name and address, or ask what alternative they accept.
Your trip dates are not fixed yet: if you do not know the end date, the quote may be provisional or inaccurate — wait until you have a realistic date range, or ask whether the policy allows later changes.
Your destination includes a country you are unsure is covered: some destinations have separate rules — ask before paying, because an excluded country can leave a gap in cover. The International Association of Travel and Homecare underlines that destination checks matter in travel assistance and insurance administration.
Your passport will expire before the end of the policy term: the insurer may shorten the cover or refuse the application — renew the passport or confirm in writing what term they will issue.
You are applying from a country that is not your usual residence: residency rules can be strict — check whether the insurer accepts your current location and what evidence they need.
In each case, the issue is not paperwork volume; it is whether the application can accurately support the policy. A quick email or chat clarification can prevent a rejected submission, and that is better than trying to patch the file after issuance.
Common mistakes people make with nomad insurance applications
The most common mistakes are simple, but the consequences are real: a delayed quote, a manually reviewed application, or a policy that does not line up with the traveller’s actual circumstances. The fix is usually not a different product; it is cleaner data.
-
Entering a nickname instead of the passport name. The policy can be issued with inconsistent identity details, which complicates claims and assistance. Use the exact passport name unless the form tells you otherwise.
-
Uploading an unreadable proof-of-residence file. A dark photo, cropped bank statement, or cut-off address can fail verification. Upload a clear PDF or a full-page image where the name, address, issuer, and date are visible.
-
Guessing the travel end date. A guessed date can leave a gap if the trip runs longer than planned. Use a date you can defend, and change it later only if the insurer allows amendments.
-
Forgetting a country on the route. If the application asks for destination country and you later travel elsewhere, you may need to update the policy. List the countries you realistically expect to visit, not just the first stop.
-
Using an address that no longer reflects residence. If the insurer checks residence and the document shows a different country, the file may be flagged. Use the current residential address or ask what they accept as proof.
-
Leaving required fields blank. Blank fields can be treated as missing information rather than “not applicable.” If a field truly does not apply, mark it only if the form allows that choice.
These mistakes are easy to prevent with a 5-minute review before submission. Read the form once top to bottom, compare it against the passport and proof of residence, and confirm that the dates and country names are identical everywhere they appear.
What if your paperwork does not fit the standard case?
If your situation is unusual, the standard checklist still helps, but the way you present it may need to change. The insurer needs the same underlying facts; it just may need them in a different format.
If you are living in a country that is not your passport country, the proof of residence becomes more important. In that case, the residence document should show your current address clearly, and it should be current enough to satisfy the insurer’s check. Some applicants also need a visa, residence permit, or local registration document, depending on the insurer and the country’s rules. If the form asks only for a home address, still keep the supporting documents ready in case underwriting requests them.
If your address is a long-term temporary address, such as a serviced apartment or house-sit, the insurer may not treat it as stable residence. The issue is not the type of property by itself; it is whether your documentation supports it. A signed rental agreement or an official letter tied to that address usually carries more weight than an informal booking confirmation.
If you are changing countries during the cover period, list the countries you know you will visit and check whether the policy requires updates for additional destinations. A 3-country route and a single-country stay are not the same underwriting case, even if the first month looks identical.
If your name changed recently, carry the linking document that connects the old and new names. That may be a marriage certificate, court order, or official change-of-name document. Without it, the insurer may not be able to match your passport to your proof of residence or previous records.
Drafted with AI; not yet reviewed by a person.